

A microSD card for Nintendo Switch is one of the simplest upgrades you can make if the console’s internal storage is filling up. Downloaded games, updates, DLC and screenshots soon add up, particularly on the original Switch and Switch Lite with 32GB of built-in storage. The Switch OLED has 64GB, but that can still disappear quickly when you prefer digital purchases.
The right card gives you room to keep more games installed, rather than deleting and downloading titles whenever you want to play. Compatibility is straightforward, but capacity and card type are worth getting right before you buy.
Which microSD card for Nintendo Switch should you buy?
For the Nintendo Switch, Switch Lite and Switch OLED, choose a standard microSD, microSDHC or microSDXC card with UHS-I support. A recognised-brand UHS-I card from SanDisk, Samsung or Kingston is a dependable choice for game storage.
Nintendo recommends cards with UHS-I compatibility and transfer speeds of 60MB/s to 95MB/s. Many current UHS-I cards quote read speeds above this range, which is fine. The console will use the speed it supports, so paying extra for a faster UHS-II card will not make games load at UHS-II speeds. It may be useful if you also plan to use the card in a compatible camera or reader, but it is not necessary for Switch gaming.
A card marketed for Nintendo Switch can be a convenient option, often with character artwork or Nintendo licensing. However, a standard, compatible UHS-I microSD card from a trusted manufacturer works in exactly the same way. Compare the capacity, speed rating, warranty and price rather than choosing solely by the design.
A note for Nintendo Switch 2 owners
This guidance applies to the original Nintendo Switch family: Switch, Switch Lite and Switch OLED. Nintendo Switch 2 uses microSD Express cards for expanded storage. A conventional microSD card for Nintendo Switch cannot be used to store and play Switch 2 games on that newer console, so check your model before ordering.
Choose capacity based on how you buy games
Capacity is the decision that will affect day-to-day use most. Physical game cartridges save space, although updates and downloadable content still use storage. Digital games need much more room, and game file sizes vary widely. Smaller indie titles may only use a few gigabytes, while larger releases can take 15GB, 25GB or more once updates are included.
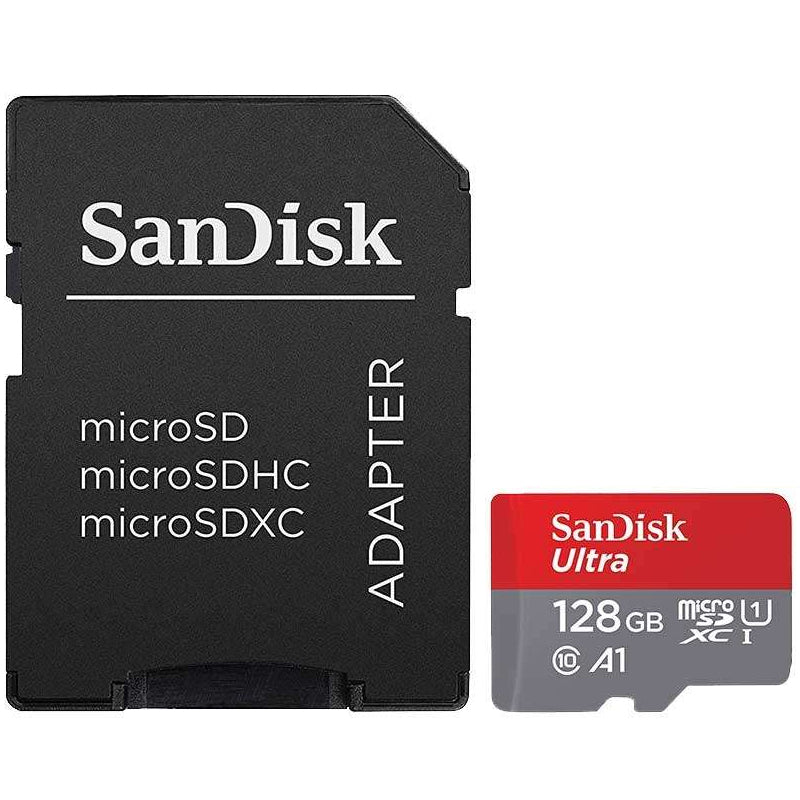
A 128GB card is a sensible starting point for lighter use. It suits players who mostly buy physical games, download a few favourites and want space for updates and screenshots. It is also a practical, low-cost replacement when the console storage warning first appears.
A 256GB microSD card is often the best balance of price and capacity for most households. It leaves room for a useful digital library without requiring frequent storage management. If two people use the same console, or you regularly buy games from the eShop, this is usually the capacity to consider first.
For larger digital collections, 512GB provides more breathing space. It is a good fit for players who keep a broad selection installed, share the console with family members or prefer to have holiday and travel games ready without planning downloads in advance.
A 1TB card is aimed at bigger libraries and convenience-first buyers. It costs more, but it can make sense when you purchase nearly every game digitally and do not want to decide what to remove. The best value is not always the largest card - it is the capacity that avoids frustration without paying for storage you will not use.
Do speed ratings matter for Switch storage?
They matter, but not in the way product packaging can suggest. The Switch needs a compatible UHS-I card, and a quality card with strong read performance is ideal. Game data is read from the card while playing, and downloads are written to it, but the console itself sets a limit on real-world performance.
Look for UHS-I on the specification and, where available, a U3 speed class. U1 cards can work, but U3-rated cards are commonly available and offer a useful margin for faster write performance. This can help with downloading games and transferring screenshots, although it will not turn a Switch into a faster console.
You may also see A1 or A2 app performance ratings. These ratings were designed mainly for running apps on phones and tablets. They are not a key requirement for the Nintendo Switch, though an A1-rated card is often a good-quality option. Do not reject a suitable card simply because it does not highlight A2.
The advertised maximum read speed on a card is measured under particular conditions. It is helpful for comparing cards in the same category, but it is not a promise of game loading times. A well-priced UHS-I card from a reliable brand is normally a better purchase than an expensive specification the console cannot fully use.
microSDHC or microSDXC: what is the difference?
The labels mostly relate to capacity. microSDHC cards range from 4GB to 32GB, while microSDXC cards start at 64GB and cover the larger capacities most Switch owners need. Both formats are compatible with the Switch family, but larger microSDXC cards may require a console system update before first use.
For this reason, connect the console to the internet and install the latest system software before setting up a new high-capacity card. The card should then be formatted by the Switch itself. Formatting removes any existing files, so copy off anything you need before inserting a card that has been used elsewhere.
How to install a microSD card in a Nintendo Switch
Turn the console off before fitting the card. On the original Switch, lift the kickstand on the back to find the microSD slot. On the Switch OLED, the slot sits behind the adjustable stand. The Switch Lite has its slot beneath the small cover on the lower edge of the rear casing.
Insert the card carefully with the label facing the correct direction for your console. Do not force it. Once the Switch is powered on, it should recognise the card and prompt you if formatting is required. After setup, new downloadable software will normally save to the microSD card when space is available.
Existing downloaded games will not automatically move just because a card has been inserted. Use the console’s Data Management settings to move software between system memory and the microSD card if needed. Save data is handled separately by the console and is not stored on the microSD card, which is worth remembering before removing or formatting it.
Avoid the common buying mistakes
The cheapest unbranded card can be a false economy. Counterfeit memory cards may report a capacity they do not really have, leading to failed downloads, corrupted data or lost game files once the card is full. Choose genuine products from established storage brands and a specialist retailer with clear specifications and support.
It is also easy to buy the wrong format. Full-size SD cards will not fit in a Switch without an adapter, and an adapter is not needed when you buy a microSD card. Equally, do not assume that a larger card automatically makes every game load faster. Capacity provides room; compatible UHS-I performance provides the practical speed the Switch can use.
Finally, allow for future purchases. A 64GB card may appear good value, but the saving can disappear if you outgrow it after a few large downloads. For many players, stepping up to 128GB or 256GB is the more convenient choice.
A practical choice for your game library
For most Nintendo Switch, Lite and OLED owners, a 256GB UHS-I microSDXC card from a recognised brand is the sensible all-round option. It offers enough capacity for a growing mix of digital games, updates and DLC while keeping the cost realistic. A 128GB card remains a solid value choice for casual use, while 512GB and 1TB suit players building a long-term digital library.
Check the console model, buy the capacity you are likely to need next year rather than only today, and format the card in the Switch before loading your games. That small amount of preparation means more time playing and less time managing storage.

