

A card that suddenly shows as full, unreadable or incompatible can stop a camera, dash cam or phone when you need it most. Knowing how to format SD card storage correctly can fix file-system errors and prepare it for a new device, but formatting permanently removes the files on it. Check the card carefully before you begin.
Before You Format an SD Card
Formatting clears the card's directory and prepares its storage using a file system your device can read. It is useful when a card is new, has been used in another device, displays errors, or needs clearing after you have copied your photos and videos elsewhere.
It is not the first answer to every problem. If a card is not detected, repeatedly asks to be formatted, or has become read-only, the card reader, adapter or card itself may be at fault. Try another compatible reader or device before erasing anything. A failing card can sometimes format successfully but fail again soon afterwards.
First, copy every file you want to keep to a computer, external drive or trusted cloud storage. Open a selection of photos and videos after copying to make sure they work. Formatting is not a reliable way to remove files for privacy before selling or disposing of a card, particularly if the card is faulty. Physical destruction is the safer option for sensitive data.
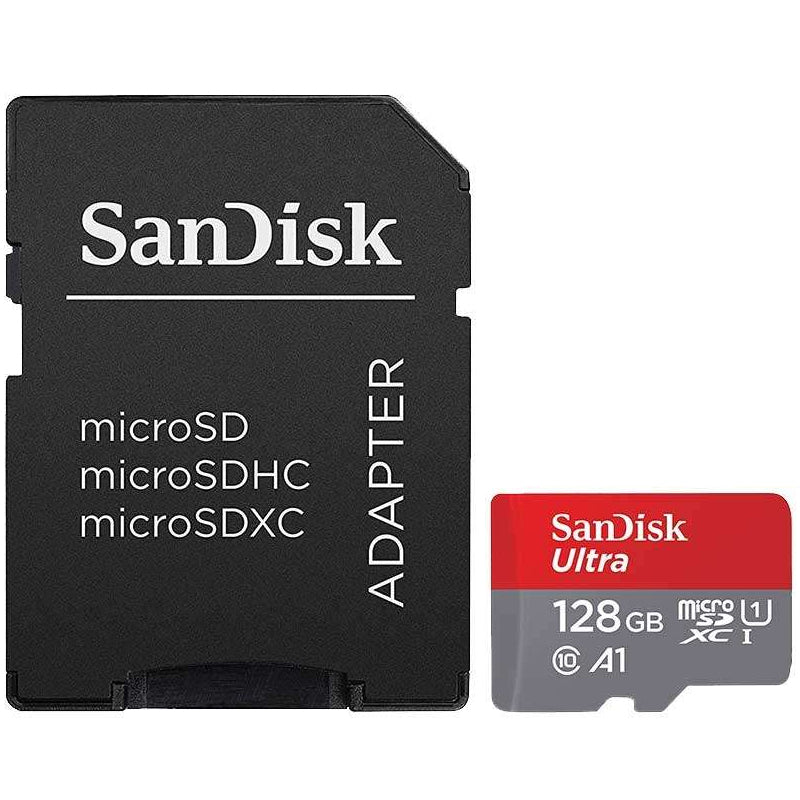
Also check the small lock switch on a full-size SD card or SD adapter. If it is in the locked position, your computer may not be able to write to or format the card. MicroSD cards do not have a lock switch themselves, but many microSD-to-SD adapters do.
How to Format SD Card on Windows
For most users, Windows File Explorer is the quickest option. Insert the SD or microSD card using a built-in slot or a suitable USB card reader. Wait for Windows to recognise it, then open File Explorer and select This PC.
Right-click the removable drive that matches your card. Take a moment to confirm the capacity before selecting Format. Choosing the wrong drive can erase files from a USB drive or external hard drive instead.
In the format window, select the file system, leave the allocation unit size on Default, add a simple volume label if useful, then choose Start. A quick format is normally sufficient for a card that is working properly and simply needs preparing for use. It removes the file table rather than checking every part of the storage.
Untick Quick Format if you want Windows to perform a more thorough check. This takes longer, especially on high-capacity cards, and can help expose problems on older media. It does not repair a physically failing card, so replace the card if errors return.
If Windows reports that it cannot complete the format, check the adapter lock switch and try a different reader or USB port. Disk Management can sometimes help when a card does not appear in File Explorer, but it should be used carefully because it lists all connected drives.
Choosing FAT32, exFAT or NTFS
The right file system depends on the card capacity and the device that will use it.
FAT32 offers the widest compatibility with older cameras, games consoles, car stereos and other devices. Its limitation is a maximum individual file size of 4GB, which can be restrictive for long 4K video recordings. Windows may not offer FAT32 as a standard option for larger cards.
exFAT is usually the best choice for SDXC and higher-capacity microSD cards used in modern cameras, phones, drones and computers. It supports large files and is commonly expected on cards over 32GB. Always check the device manual if you are using older equipment.
NTFS is designed primarily for Windows computers. Although useful for some external drives, it is rarely the right choice for an SD card intended for cameras, Android devices, handheld consoles or media players. Many of these devices cannot read it.
Format the Card in Your Camera or Other Device
If the card is mainly for a camera, action camera, drone, dash cam or games console, formatting it in that device is often the best option. The device creates the folder structure and file system it expects, reducing the risk of an incompatible setup.
Look in the device settings for an option such as Format card, Format memory card, Initialise or Erase all data. Ensure the battery is well charged or connect mains power where available. Interrupting a format because the device loses power can leave the card unusable until it is formatted again.
This is particularly worthwhile after moving a card from one camera brand or device type to another. A card that works in a laptop can still cause recording errors if a camera does not like its existing structure. After backing up your files, use the camera's own format option before an important shoot.
Do not format a card in a camera merely to create more space while you are travelling unless your backup has been checked. A full card is inconvenient; lost holiday photos or paid work are worse.
How to Format a microSD Card on Android
Android phones and tablets can usually format a microSD card through Settings, although the wording differs by manufacturer and Android version. Look under Storage, select the SD card, then open its options menu for Format or Erase.
Android may offer two ways to set up the card. Portable storage keeps the card removable and makes it easier to use with a card reader or another compatible device. This is normally the practical choice for moving photos, music, downloads and videos between devices.
Internal storage, sometimes called adopted storage, encrypts the card and ties it to that phone or tablet. It can expand available app storage on some devices, but you generally cannot remove the card and use it elsewhere without losing access to its contents. Not every Android device supports this feature, and a fast, reliable card is essential if apps will run from it.
Many current phones, including iPhones, have no microSD slot. An iPhone cannot directly format an SD card in the way Android devices can. Use a Mac, Windows PC or the camera that uses the card instead.
Format an SD Card on a Mac
Connect the card through a compatible card reader, then open Disk Utility from Applications and Utilities. In the menu bar, select View and choose Show All Devices. This helps you identify the physical card as well as its existing volume.
Select the SD card carefully, not your Mac's internal drive. Choose Erase, enter a name if required, then select the format. For a card used across modern devices, choose exFAT. For an older device that specifically requires it, choose MS-DOS (FAT), which is the Mac label for FAT32-style formatting.
For the scheme, Master Boot Record offers broad compatibility for removable cards. Then select Erase and wait for Disk Utility to finish. Eject the card properly in Finder before removing it from the reader.
When Formatting Does Not Solve the Problem
A format can correct corrupted folders and file-system issues, but it cannot restore worn-out flash memory. Replace the card if it disconnects during transfers, shows a capacity different from the one you bought, loses files, cannot retain a format, or produces repeated write errors.
Counterfeit cards can also appear to work at first while reporting more capacity than they genuinely have. Once that real capacity is exceeded, new files may overwrite older ones or become corrupt. Buying recognised brands and selecting the right speed and capacity for your device helps avoid this risk.
For photography, video and gaming, format only after copying your files and use a card suited to the job. A high-speed UHS-I card with the appropriate video rating can make a real difference for 4K recording, while a reliable, sensibly priced card may be all that is needed for everyday phone storage. MyMemory offers SD and microSD options across capacities and speed classes, making it easier to match the card to the device rather than paying for specification you will not use.
A freshly formatted card should be ready to use, but the sensible habit is still the same: copy important files promptly, eject the card safely and format it in the device you plan to use next.

